Dear friends, My blog has moved!
Please visit me over at my new site!


I hope to see you there!

~Jenni


Showing posts with label kitchen. Show all posts

Tuesday, August 30, 2011

Vintage stove or new stove? {Your advice, please!}

Hello friends! I hope you are all doing well!

I have an appliance dilemma, and was hoping I could get your advice! :)

Three years ago, I bought a vintage stove off Craigslist. I bought it despite the fact that it needed to be rewired, and also needed three out of four new elements, and both oven elements replaced...


{Please ignore our half finished breakfast room!}

I had my reasons for going ahead with the purchase despite said facts: {wink} 


It was the exact stove I was looking for {a 1940's Kelvinator}.


The chrome and porcelain was in excellent condition, except for one knick on the top side, which I can fix.

It had potential and good bones, and it would just take a lot of scrubbing and some recoating of the oven drawers on my part...


and of course, rewiring on the part of my husband. ;)

We have bought all of the parts necessary for this project, but now I am second guessing myself.

A vintage stove has been one of my big "kitchen dreams" for quite a while. And for quite a while my little stove has been waiting in a corner of our breakfast room...

I have thought maybe we should forego one of too many to-dos on our list and simply buy a new, clean stove...

And my, oh my, if one could have any new stove in the world, what of this gorgeous stove?


{Landmark Kitchens UK}

{Love.}


{Landmark Kitchens UK}

Or this one?


{Landmark Kitchens UK}

Absolutely delicious, isn't it?

And there is always the option of buying the new old stove, such as this lovely made by Big Chill:


{Big Chill.com}

Realistically, if we go the "new" route, we will purchase something more like this:


{Lowes.com}
 
It is just so fun to dream! :)

However, I must admit candidly, that there is just nothing quite like the real thing, at least for me.


Here is a little like what I picture our old stove looking in our kitchen:


{Better Homes and Gardens}


Doesn't the stove pictured look right at home?


{Big Chill.com}


There is just something about old things, they add something very special and unique to the room. 
SO...if the choice was yours, what would you do? I'd love to hear your thoughts on this!


I hope you all have a beautiful Wednesday, and thank you so much for stopping by! :)


Blessings,
Jenni

Sunday, September 12, 2010

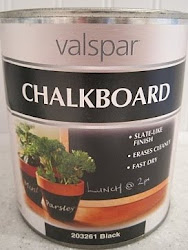
The Chalkboard Pantry Doors


Last summer (2009) I found this picture


at Better Homes and Gardens, while searching for kitchen inspiration pictures. Of course, I must admit to wishing my pantry was as big as this, but it is what it is! It doesn't mean, however, that it has to be either ugly or boring! ;)

(Which it was.)


Here is a "before" picture of our pantry doors. I actually finished the doors last February, and posted on them at my other blog, Nest to Keep. BUT, I learned something important:

If you use green chalk, and then, while trying to clean it off, smear it on the white trim, it makes the trim green. Permanently.

So being the perfectionist I am, I repainted them. So here they are, "take two"!


There is a "grooved" design around the edges of the cabinet, which separated the chalkboard from the "trim" around the outer part, which I painted white. It is really difficult to make a clean, crisp edge between the two colors.


But that's where this came in:


Have you seen these paint pens you can buy?
They saved my life. Practically.


I used the black, medium tipped ones and they were able to make a clean line dividing the chalkboard paint from the white part. (It was a lot harder to do with the doors already hung up. It was a cleaner and crisper line the first time around when I painted them while they were laid flat on a table, but I eventually just had to call it "good enough".)


And then I hid all the green chalk.


Here below is a better picture of the doors, although I don't think it's the best picture of the kitchen itself! You can see all I am still working on, including the crown molding! And our very ugly stove to the left of the pantry...but the good news is my husband is just about to start rewiring our "new" vintage stove we will be installing! (Hopefully this fall, if everything goes well!)


Oh, and yes, I changed my mind about the bead board on the back of the upper cabinets...

(Again.)

I am repainting them white, and I love it so far! It feels so much cleaner and open!

I am linking this to:

Under the Table and Dreaming

Between Naps on the Porch

Domestically Speaking

The Shabby Nest

Tatertots and Jello


Well, that is all for me for now! I sure do hope you all had a fantastic weekend! Thank you for taking the time to stop by!

Blessings,

Sparrow


Tuesday, August 31, 2010

Bead board in the cabinets: Choosing a color

It's not as easy as it seems. [Of course, this is coming from someone who tends to make everything hard, but that is another topic all together!]

But truly, there is something daunting about picking out paint, especially for certain projects. You know, the kind where you want it to be *perfect*. For some reason, every project in my kitchen renovation has fallen into this category. Actually, if I were to be totally and completely honest, everything in my life falls into this category...but please tell me that there is someone else out there who agonizes over paint colors like this!

It all started very innocently:

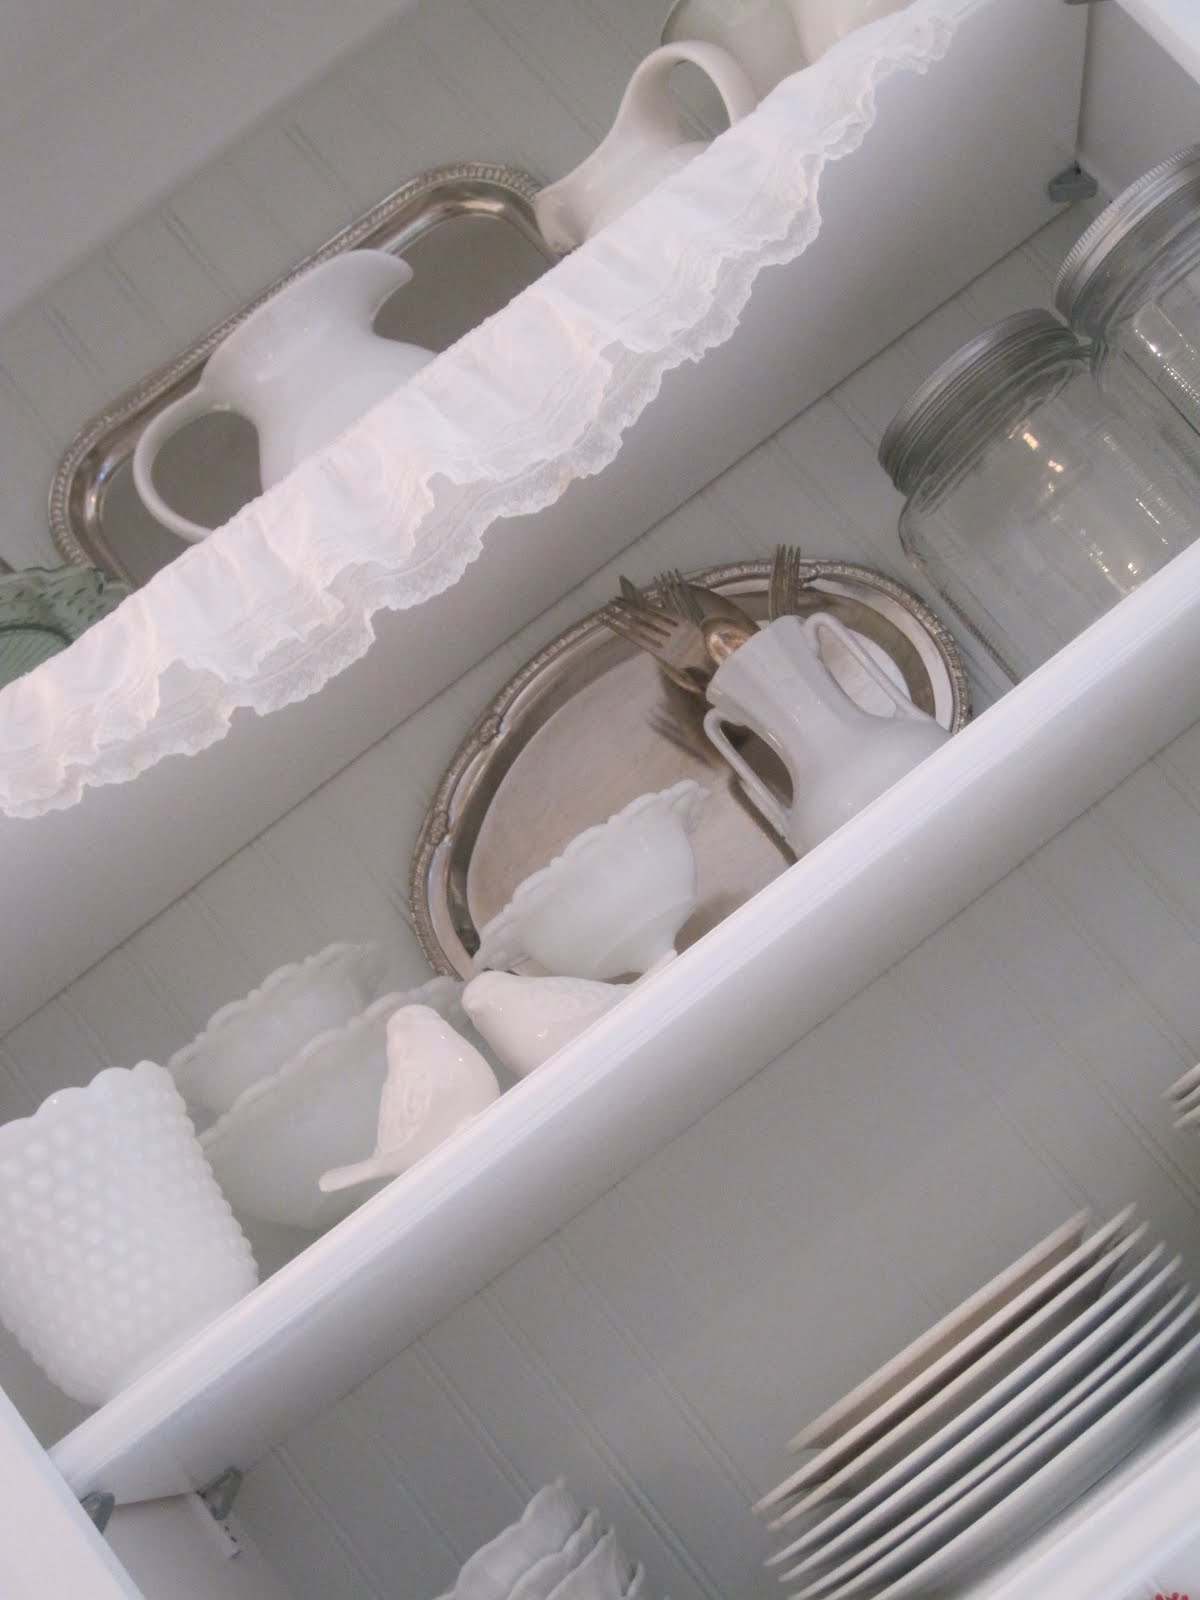
I put bead board on the inside back of our upper kitchen cabinets, and painted them the same pistachio green that I painted the wall. It was exactly what I wanted.

Until I started thinking that I needed a white paint color on the walls instead, which I repainted a creamy white hue. And maybe I would have left the bead board like it was, but then when I painted our kitchen floor, I chose this very grayish green color:


I wasn't sure it matched the light green, but I chose it because it was the completely right color for our floor. [I know this is true, because the countless other samples I tried were not the right ones.] And I loved the way it looked, and David agreed.

Just one problem~ the clash between it and the pistachio was giving me a headache.

So we went from this:


(Cabinet by stove; first green)


To this:


(Cabinet by sink; new green)


To this:


(Cabinet with things inside of it again! Yea!)


This picture shows the floor color better, and a little bit of the cabinet by the sink. No more clashing now! :)


(Picture disclaimer: I still haven't sewn a sink skirt, and I left the drawer open because the drawer front was freshly painted!)


In the end, I realized the grayish green on the floor would work for the bead board. And if I want to repaint it someday, I can. Besides, the floor is technically a temporary fix anyway!


Well, thanks so much for stopping by and listening to my ramblings! I hope your week is going well! Oh, and if you haven't entered our giveaway, be sure to check it out here!

Have a beautiful day!

~Jenni