Dear friends, My blog has moved!
Please visit me over at my new site!


I hope to see you there!

~Jenni


Showing posts with label holidays. Show all posts

Tuesday, January 17, 2012

Glittered Letter Doily Banner {Valentine's Day Ideas}


Hello sweet friends! I hope your week has been a beautiful one so far!

I thought that as it was getting closer to Valentine's Day, I would share this banner with you! 

I shared this when I guest posted over at Attempting Aloha about this time last year, but never shared it here! However, it's such an easy little craft, I thought it would be a shame not to show it over here as well!


I had these cute large chipboard letters on hand. A few years ago, I was really into using them for my banners, but I hadn't used them in a while.


They are pre-glittered, but I didn't want them to be black for this project. Enter dark blue glitter...


I decoupaged the letter,


and then shook the glitter over it. Yea! Now I had a blue  glittered letter!


And another letter...


I just kept glittering away, until I had finished all the letters I needed. After letting them dry, I was ready for these:


These small doilies, just under 7 inches wide, were found at JoAnn's Fabrics.


I glued each glittered letter to the the center of each doily...Now I used a glue gun, because I want to be able to get it off easily, to use these doilies again. However, I tested a letter using Elmer's multipurpose glue, and it worked great.


There is just something about glittered letters...


I just wove the ribbon through two of the holes in the top of each doily. I adjusted them until they looked right, attaching it securely to both ends of the mantel. (Upholstery tacks work wonders for this!)


And you have a doily banner!


{What you will need for this project}
Small doilies
Chipboard letters {I know these can be found at Michael's craft store}
Glitter
Decoupage glue
Foam brush
Glue gun/glue sticks or Elmer's glue
Ribbon


 I hope you all have a good night, and a lovely Wednesday! It has been snowing since Saturday, and we are enjoying being *snowed in* over here! Apparently there is a lot more on the way, too, so I have three very excited children! I'm crossing my fingers we get even more snowed in! :)


Blessings,
Jenni

Monday, June 27, 2011

A Fourth of July Banner

Hello lovely friends!
Tell me, how was your weekend? I really hope it was a wonderful one, and that today was a nice Monday for you, too! :)
I have something to show you, but before I do, I just wanted to say thank you. The comments you all left on both the bathroom and the kitchen post floored me. They are beyond kind and beyond encouraging, and I was so touched.
You see, I realized once again I have met some truly kind people. And that is such a blessing! So thank you for everything. I really, really mean that.
Now...
I wanted to do a banner for the fourth of July, something fun and patriotic. And although most of the colors I use in my decorating are really considered neutrals, I needed this banner to have a little red and blue! :)
And this is what I came up with:
{I just love the fourth of July!}
But even if you are not American, this banner idea would work for any holiday or season~ with or without letters! :)
To make this, I collected my supplies:
Decorative scrapbook paper
Twine
Matching neutral scrapbook paper
*Book pages {or make your own!}
Glitter letters
Glue stick
School glue, such as Elmer's
Glue gun, glue stick

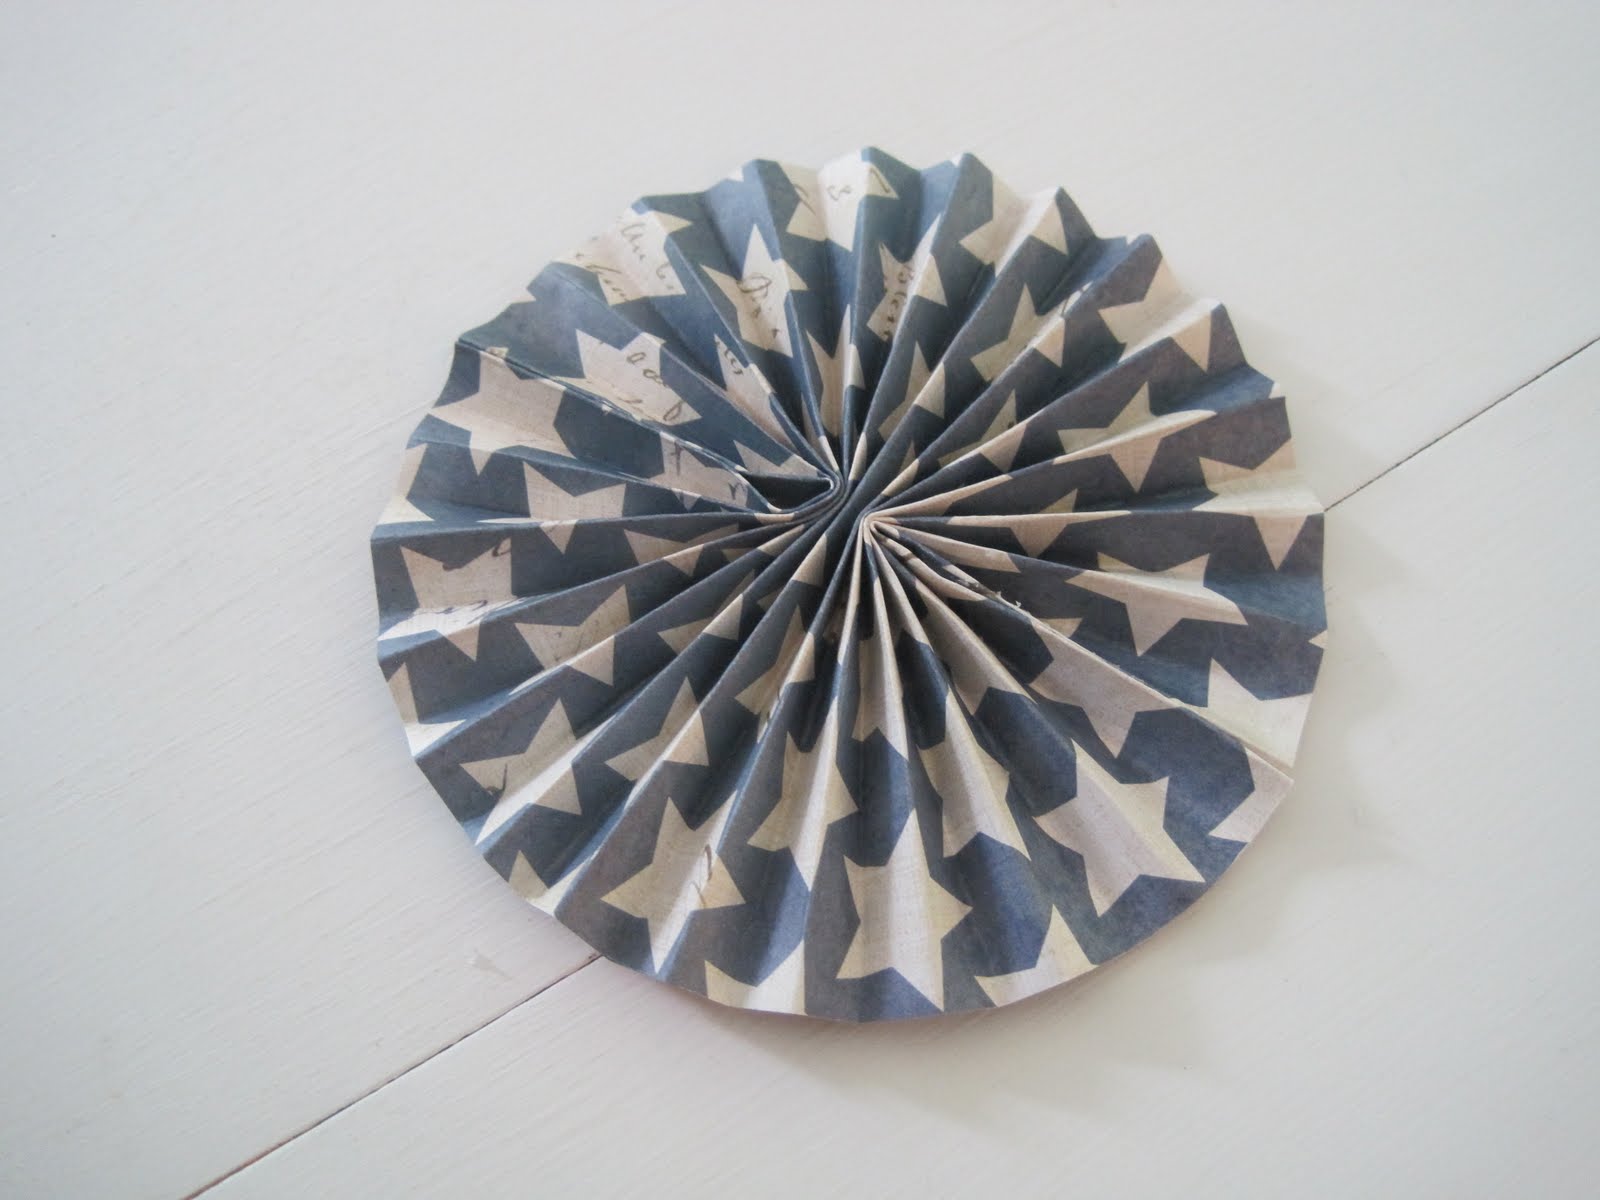
To make the banner, I cut a piece of scrapbook paper in half.
I folded it accordian style, from top to bottom...
...and on one side of the folded paper, bring the two ends together, like so~
Using your hot glue gun {or other glue}, add a line of glue between the two ends that meet and close the ends.
Now, at this point, there are two different ways you can finish it. It all just depends how you want it to look. If you want wider spaces between the folds, you will need less folds; otherwise use more. I typically used between 24- 26 "folds" to make one.
Most times I had to use two halves of a piece of scrapbook paper {folded} for one to get the full look I wanted. But I will show you both ways, so you can do it whichever way you prefer! :)
If one half piece of paper is enough,
all you need to do is bring the other side together and glue it the same way you did the first.
If you are using two halves, fold the second half of paper accordian style as you did before. Repeat the process of gluing one side of the paper together.
You can play with it and decide if you want to keep all the folds or cut some off, all again depending on what you like!
Now when you have it ready to put together, take the end {unglued} fold of one half and place it over the other unglued end of the other half.
Does it look just how you want it? Yea! Now just glue them together and press until firmly adhered.
Next, put a dab of glue in the middle of each of the three center folds, like in the picture above, and press together.
And there you have it! Your base "accordian circle" (for lack of a better word!) for your banner.
Now I was putting letters on each piece, and I thought it would be fun to use a book page for a circle to glue the letter to. Something with words like life, liberty, and the pursuit of happiness on it. But I didn't have anything like that on hand, so...
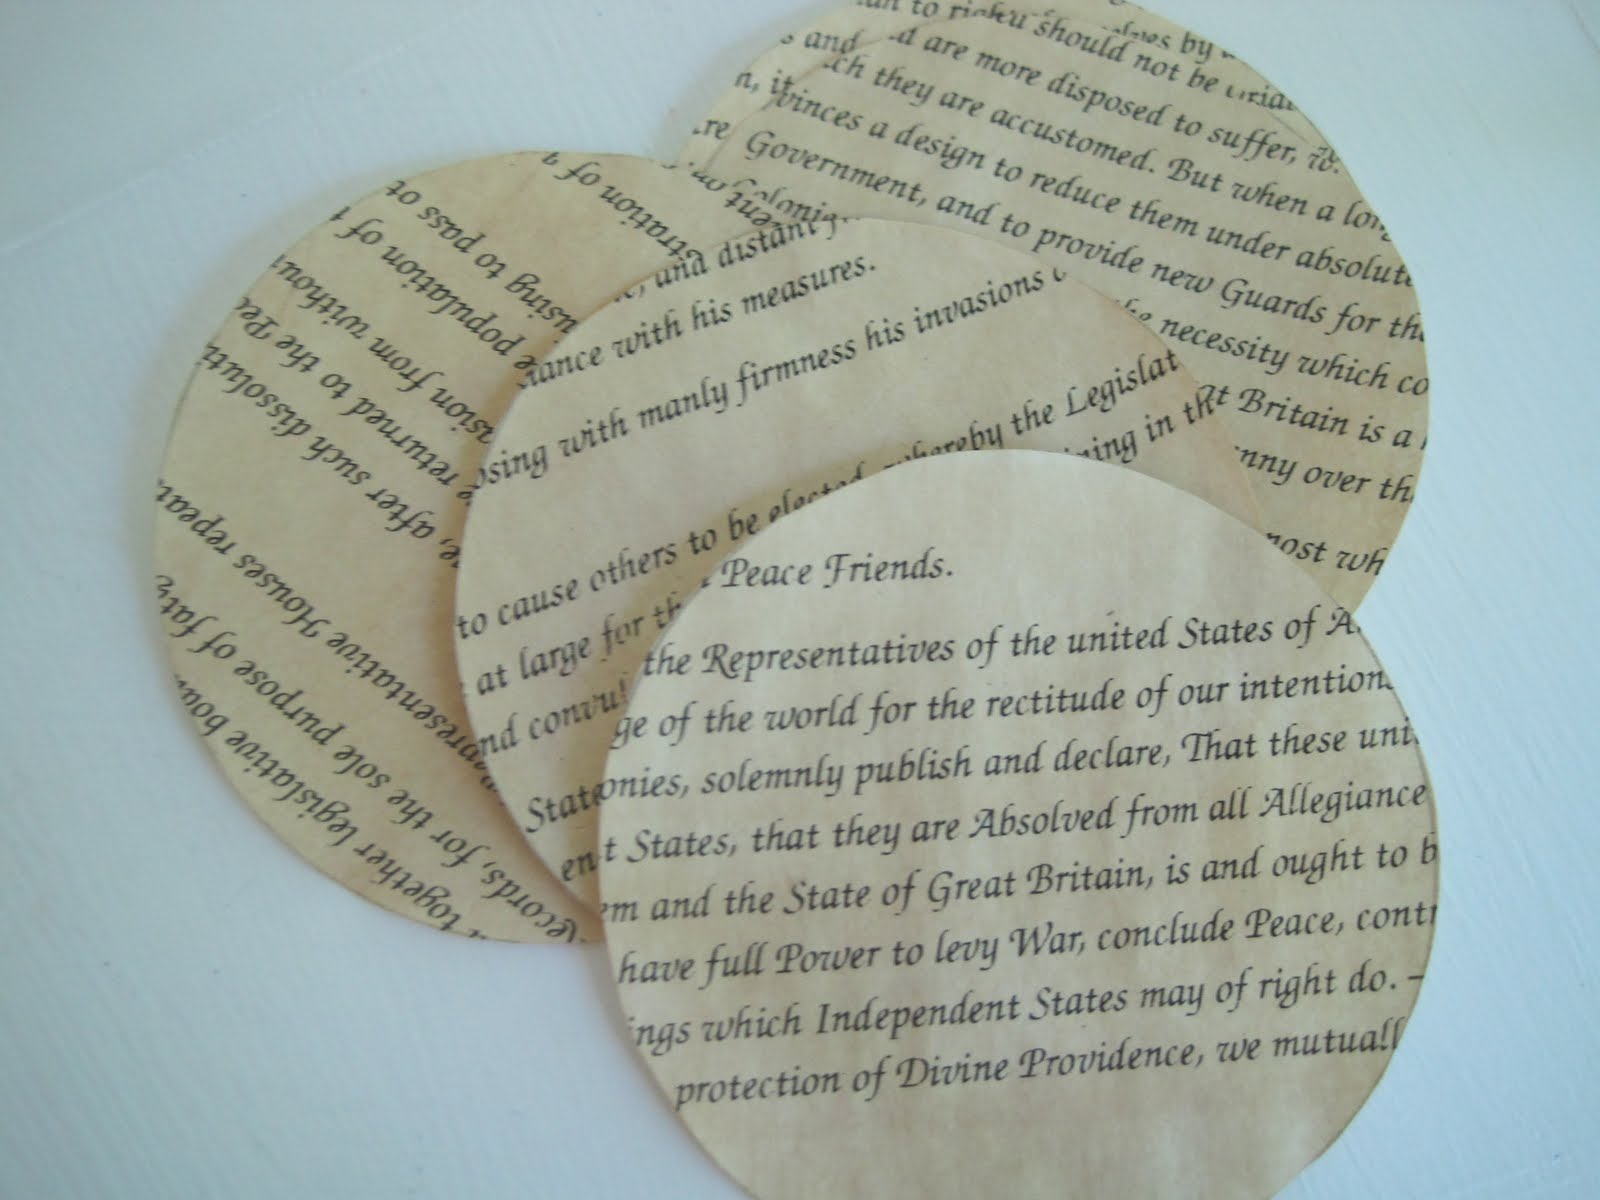
I made my own "book" pages! I found a free copy of the Declaration of Independence text online and copied and pasted it into Word Document. Changed the font, and printed it.
I made a bowl of nice, strong black tea, and used a small paint brush to "paint" the paper with tea.
I did that a few times until it was the shade I wanted and let it dry, and cut it into the size of circles I wanted. {I used a can of kidney beans to trace around for my circle template, so anything will work!} ;)
{I glued these circles to neutral card stock for extra firmness.}
Then I used these circles for the center piece, gluing the glitter letters onto them. I glued those onto my "accordian circles". {Is there a real name for these things?}
I strung a piece of twine from one side of the mantel to the other, and clipped each "letter" up with a tea-stained clothespin.
{The tea-stained clothespins were a great idea I got from Nancy's Tidits.}
And now, my mind is spinning because whenever I do one craft it always leads to another. In this case, three! Here's what I am working on now:
{More on this to come!} ;)
Well, that is all for me tonight! Once again, it's a novel for you to read! I'm impressed if you made it this far! :)
I hope you have a restful night, and thank you very much for visiting! It was so nice of you to drop by. :)
Blessings to each of you~
Jenni
{Sparrow}
I am linking this post to the following parties: