Dear friends, My blog has moved!
Please visit me over at my new site!


I hope to see you there!

~Jenni


Tuesday, August 31, 2010

Bead board in the cabinets: Choosing a color

It's not as easy as it seems. [Of course, this is coming from someone who tends to make everything hard, but that is another topic all together!]

But truly, there is something daunting about picking out paint, especially for certain projects. You know, the kind where you want it to be *perfect*. For some reason, every project in my kitchen renovation has fallen into this category. Actually, if I were to be totally and completely honest, everything in my life falls into this category...but please tell me that there is someone else out there who agonizes over paint colors like this!

It all started very innocently:

I put bead board on the inside back of our upper kitchen cabinets, and painted them the same pistachio green that I painted the wall. It was exactly what I wanted.

Until I started thinking that I needed a white paint color on the walls instead, which I repainted a creamy white hue. And maybe I would have left the bead board like it was, but then when I painted our kitchen floor, I chose this very grayish green color:


I wasn't sure it matched the light green, but I chose it because it was the completely right color for our floor. [I know this is true, because the countless other samples I tried were not the right ones.] And I loved the way it looked, and David agreed.

Just one problem~ the clash between it and the pistachio was giving me a headache.

So we went from this:


(Cabinet by stove; first green)


To this:


(Cabinet by sink; new green)
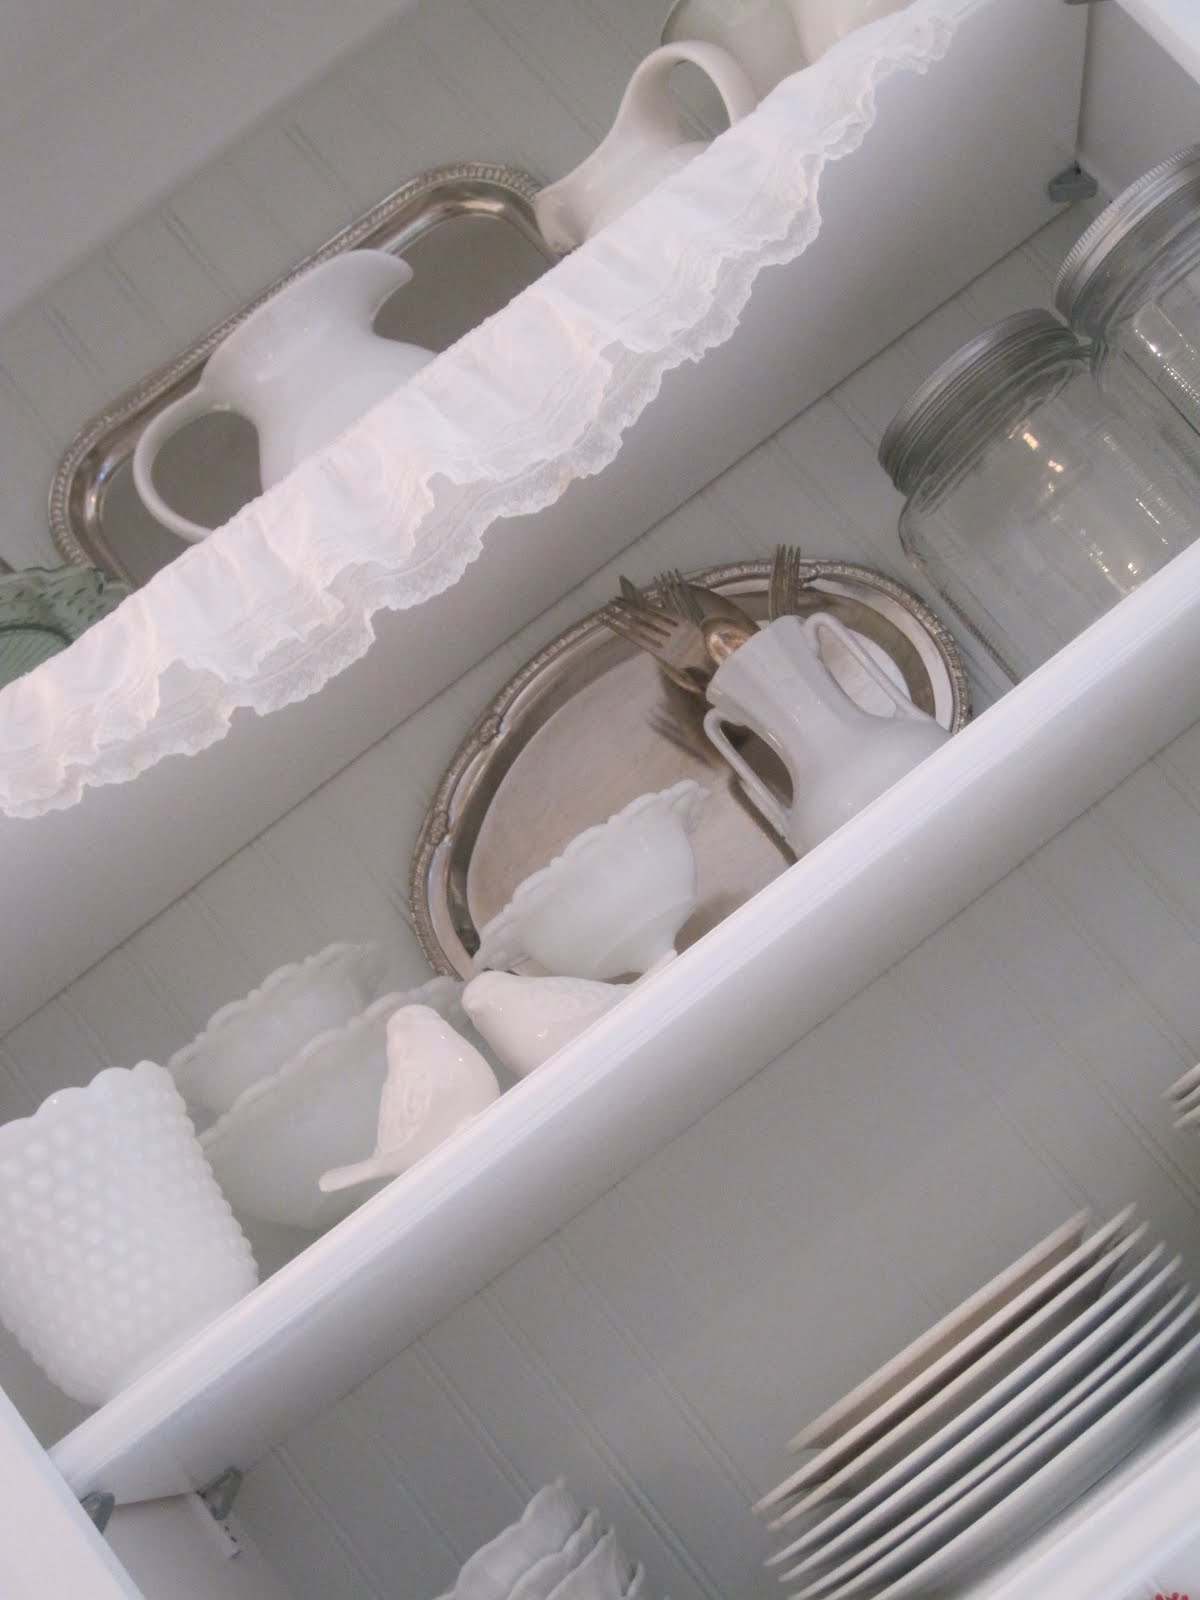

To this:


(Cabinet with things inside of it again! Yea!)


This picture shows the floor color better, and a little bit of the cabinet by the sink. No more clashing now! :)


(Picture disclaimer: I still haven't sewn a sink skirt, and I left the drawer open because the drawer front was freshly painted!)


In the end, I realized the grayish green on the floor would work for the bead board. And if I want to repaint it someday, I can. Besides, the floor is technically a temporary fix anyway!


Well, thanks so much for stopping by and listening to my ramblings! I hope your week is going well! Oh, and if you haven't entered our giveaway, be sure to check it out here!

Have a beautiful day!

~Jenni


Friday, August 27, 2010

Our first giveaway!


{This giveaway is now closed.}


Hello everyone!

We are so excited to be having our first giveaway here at Beautiful Nest!
CSN Stores is the generous sponsor of this giveaway. This means that one of you will be the lucky winner of a $40 gift certificate! It can be used at any one of their over 200 online stores, which offer just about anything you could imagine!
Now I have been particularly taken by their wide variety of kitchen items, which include the fabulous Le Creuset brand!
If you are like me, there is always something on your kitchen wish list...


And almost always a need or two!


And now, many of the necessary items in your kitchen can be beautiful as well as functional, such as this amazing bakeware set...I just love the color!


This caught my eye as well...


How sweet are these? Baking muffins would be twice the fun when using this muffin pan with silicone liners!


Be sure to visit http://www.csnstores.com/ourstores.asp and check out all the wonderful things sold there!

So here are the rules for this giveaway:
You absolutely do not have to have a blog to enter! :)
This giveaway is only open to US and Canadian readers. Any orders that are shipped to Canada may incur extra shipping charges.
For one chance to win, simply leave a comment!
For an extra chance, become a follower of this blog. ;) Or if you already follow this blog, let us know you do!
And IF you so desire a third chance, post about this giveaway on your blog!
Be sure to leave a comment for each thing you do, so we know to add your name multiple times!
This giveaway will run from today {Friday, August 27} until Monday September 6, at midnight PST! We will draw one name from a basket that day, and let you know who the lucky winner is!
As always, thanks so much for stopping by for a visit!


*Disclaimer: We are in no way compensated for hosting this giveaway.

Vintage School Desk {Transformed}

A big thank you to Stephanie Lynn at Under the Table and Dreaming & Shauna at Perfectly Imperfect for featuring my school desk!
 UndertheTableandDreamingPhotobucket


When I was a teenager my mom was given two of these desks.


I never thought they were that pretty as they were. As the years went by, I wondered what it would be like to have them and transform them into something pretty.


Not long ago, I noticed the desks were still in my parents' garage and asked my parents if they had plans for them. {Hint, hint...If you'd like, I'd love to give these beauties a new home.} Ends up my Dad was thrilled to get rid of them. {Gives him more space for his tractor and tools!}


So far, I've only transformed one desk...

Step one was cleaning and sanding...


Second step was painting the desk with white primer paint. {Over and over again...}


Third step was painting the color I discovered for .50 cents at Lowe's on their clearance aisle. The minute I saw this small can of paint I knew it was love! Both the price and shade were right. The paint color you ask? That would be,Woodlawn Colonial Gray Satin, by Valspar.


I've always loved chalkboard paint. While sanding this desk I got to thinking. What would be better on a school desk than a permanent chalkboard? Nothing that I could think of so...


...I painted some on a well sized square of the desk.


Still the desk wasn't "complete." I noticed a sweet stamp in my Mom's office and asked if I could "borrow" it. She said that would be fine.

{I love my Mom!}


I think this little design adds to the desk. What do you think?
I used chalkboard paint, because well, it's what I had on hand. Literally.


So are you ready to see the new improved school desk?


Painting tape removed around the chalkboard...


...voila! A {vintage} school desk transformed!


Lower shelf ready for school books...


All that's needed now is some chalk, but not for 24 hours until the last coat of chalkboard paint has time to dry.
{waiting, once again. taps foot impatiently...}


{It's love}


belle
simply . living . life


I am linking this desk to the following parties...

Perfectly Imperfect 
C.R.A.F.T 
Under the Table and Dreaming
Domestically Speaking 
Shabby Nest
Tatertots & Jello

Thursday, August 26, 2010

Iced coffee and paint in the living room


First off, I want to let you all know that my sister and I will be having a giveaway here at Beautiful Nest, beginning tomorrow! So make sure to stop on by again to check it out! :)

SO... the kitchen is taking forever~ literally, forever!~ to finish. I am close, very close, to the finish line for this phase of our kitchen redo. Originally, the kitchen island and the *super-secret project I am working on were part of the next phase. But I decided to finish those this summer, too!

But for the second time in the past 15 months, I am taking a little breather from the kitchen and working again in our living room...

I love some of these colors...


I have been wanting to paint the room the same creamy white we have in the kitchen and dining room, called simply white by Benjamin Moore. I LOVE this color!

Simply white is the color to the very far right on the top paint swatch. Do you see the color just to the left of it? That is moonlight white, and I am loving this color, too! In fact, I ended up really having trouble deciding which of these was best, but still opted for simply white!


This past spring, I did a board and batten project in our living room, and painted the top half of the walls a pale yellow. BUT the room was not coming together the way I'd envisioned, and was going in a more modern direction that didn't work with the rest of the house. My house had a serious case of multiple personality disorder.

The yellow just wasn't working.

It didn't work well with the taupe accent color I wanted to add to the room.

It had to go.


Hence, the iced coffee and paint! ;)


And I'm looking at some inspiration:


(Pictures from Better Homes and Gardens and Country Living.)

None of these pictures are exactly what I am planning, but there is a general element in them that I love~ restful, calming neutrals.

So this is what I have been working on these past several days! I hope you are having a wonderful week, and thank you so much for stopping by! :)

Blessings,

Jenni

* super secret project~ Hint: It has something to do with the long stretch of wall above our kitchen island! Stay tuned on this one!


Tuesday, August 17, 2010

The Dinner Menu

I am a creature of habit.  I find something I like and I stick with it.  Same rules apply with the weekly dinner menu.   So we often eat some of the same meals every week.  However, for the remainder of days I mix it up.  This week I mixed it up a lot by adding two new meals.  You can see these recipes among others at, Quit Eating Out.  

Sunday  
Hamburgers, Fruit Salad, & Chips

Monday
 Hawaiian Turkey-Ham Sandwiches with Pesto and Provolone {See recipe here!}  Salad greens with apples, blueberries, pecans with Raspberry Vinaigrette.   Sauteed carrots, red and green bell peppers with onions.
{Just have to add this sandwich was delicious!}

Tuesday
 Roasted Chicken and Rosemary Potatoes with Corn on the Cob {See recipe here!}

Wednesday
  Date night!

Thursday
  Enchiladas & Chicken Quesadilla
{I'll be sharing my Chicken Quesadilla recipe soon!}

Friday
 Pizza & Green Salad

Saturday
  Tacos


belle
simply . living . life

Sunday, August 15, 2010

For the love of linen...

A lampshade reconstructed

I don't think there is any prettier fabric than linen. I love its simplicity and sweetness. It somehow manages to look both rustic and romantic. It can be "shabby" or elegant. It's timeless.
So last year when I was looking for kitchen inspiration, and found this picture~


of course one of the first things I noticed was this~


So, needless to say, I have kept my eyes open for a way to create something similar.
And then I saw how Jennifer Rizzo took a small lampshade and did her own take on Heather Chadduck's chandelier. What a great idea!
Of course I had to try this idea out!
Disclaimer: My experience with lampshade slipcovers is limited. In fact, the last time I attempted it, I gave up. This time I stuck with it until I had something to show for it.
Here is the lamp shade frame I started with:


So this is my version of the Heather Chadduck/Jennifer Rizzo lamp shades:

Now is it a work for the ages? Not exactly.


I will admit to being a bit disappointed that I had to use so many lace "ties" to fix it onto the lamp shade frame, but otherwise it wouldn't have held its shape as well. I wanted little lace bows, not ties...BUT...I have another one of these little lampshades I can't wait to deconstruct to try this again!
And, you know what? I am SO happy every time I look at it! I genuinely like it, even though it is NOT perfect. I guess it fits in just fine with this not-so-perfect little house of ours. :)
I hope you all had a fantastic weekend! Thank you for stopping by for a visit!

I am linking this to Making the World Cuter! :)

Blessings,
Jenni


Friday, August 13, 2010

Chicken Ranch Pizza


So today I am joining in on all the tasty goodness at Quit Eating Out, Saturday Swap!  I mentioned a couple weeks ago that Sparrow and I planned to begin something similar soon and we still do, with a twist.  However, since this is the first ever Saturday Swap I thought I'd hop on over to Quit Eating Out to celebrate Kim's new blog party and I hope you hop on over too!

Today I am linking one of my all time favorite recipes for semi-homemade pizza.

What you'll need:
 1 Boboli Pizza Crust
Your favorite Ranch Dressing
Baked or Grilled Chicken {rotisserie chicken works wonders too!}
1 Zucchini
Green Onions or Red Onion {your choice}
Mozzarella Cheese
Parmesan Cheese
Mexican Blend Cheese
Italian Parsley


Directions:
Remove Boboli Crust from packaging
Spread Ranch dressing upon pizza
Sprinkle 1/2 cup Mexican Blend Cheese and 1/2 cup Mozzarella Cheese {add more or less for your taste}
Add cubed chicken, sliced zucchini and onion and parsley.
Bake at 450 degrees for 8-10 minutes


While the pizza is baking, why not throw together a quick salad?  Healthy and delicious!


Once pizza is cooked to perfection {just the way you like it} let it cool for 5 minutes. 
Enjoy!

belle
simply . living . life