Dear friends, My blog has moved!
Please visit me over at my new site!


I hope to see you there!

~Jenni


Friday, August 13, 2010

Container Gardening


Now to all of you avid gardeners, I have a little disclaimer here: I am not what I what I would consider a true gardener. I have a garden, and enjoy working in it when I can. And I have high hopes that one day, I'll actually know what in the world I'm doing.

But at least for now, my friend across the street~ THE gardener in our neighborhood~ is kind enough to give me advice and even offers to work with me in my garden. So I bake cookies for her family. She thinks she is getting a better deal, but I know better. :)


So, all that said, when I can cut a bouquet of my own flowers, it definitely brings a smile to my face! I think hydrangeas are one of the most beautiful flowers...


I have planted one hydrangea bush so far, but plan on adding another to the back yard next year...

Sometimes when you buy a forgotten, unloved home, it can be difficult to know where to start! We have concentrated on the inside, because it needed all the time we could give it...but I have dreams of what the yard and garden will look like one day!

Meanwhile, I have discovered a deep and abiding love for the art of container gardening. Adding a few containers of varying kind and size in with your other flowers and shrubs allows you to mix it up a bit: plant spring bulbs in a pot, then remove it when it is done flowering. Replace it with a mix of annuals for the summer. For me, it is a way to have a little variety in my garden.
I love using galvanized buckets and bins, little red wheelbarrows, and of course, clay pots. Almost anything can be used to plant flowers in! :)
But my favorite "container" is the vintage washer I found for sale at my friend's store years back.


I have never EVER regretted this purchase! It makes me happy every time I see it! Every spring, my baby daffodils come up, and I plant petunias every summer. :)


Do you see the ivy to the right of the washer? This has been growing in a cedar planter for years, and I love it! It provides green all year! I get mixed opinions on ivy in general, but I am for it. I allow it to wrap behind and in front of the washer, because I like the way it looks. It's true that ivy is an invasive plant, though, and you have to keep an eye on it!
Growing up, I was always an "inside" girl. I never thought I'd have a garden. I didn't like working in the yard at all. Funny how owning this little house has changed that!
Well, that's all for me tonight! Thank you so much for stopping by! I hope you all enjoy the weekend! :)
Blessings,
Jenni



Tuesday, August 10, 2010

hoo are you? {week one}


NightOwlCrafting


1, What are some of your favorite summer activities?  Enjoying a tasty BBQ, visiting the beach, spending time with family and friends, attending Summer themed church events.


2. What is your favorite flower? Its difficult to pick a favorite, I think so many flowers are pretty.  So I'll just say if I had to choose a flower to enjoy for the day it would be a Gerbera Daisy.  Its raining outside today, so seeing a bright and cheerful Gerbera Daisy would totally make my day!

3. What is your favorite meal of the day? At first I thought lunch because of its simplicity, but honestly it depends on a host of factors.  If I am able to make dinner in a quiet and peaceful environment, I'd say dinner.  If DH is cooking the food, I'd say breakfast.  DH makes great breakfast food.  He should seriously open an breakfast only kind of restaurant!

4. How much time do you spend on the computer each day?  1-3.  Depends on the day.  

5. Do you have any pets?  Uh, no.  My life is crazy enough as it is, lol.  


Belle
simply . living . life

Friday, August 6, 2010

From Vintage Dresser to Kitchen Island


IN OUR KITCHEN, counter space is a precious commodity. We make most all of our meals at home, usually from scratch. My husband likes to cook, whereas I enjoy baking. What we needed was another work station...

We knew before revamping our kitchen that a new floor plan was not in the budget, so this left the option of an island. There was just one little problem: we felt that because of the way the room was arranged, it wouldn't leave enough room for one. Which brought us back to the option of changing the room's footprint, which
wasn't an option.

What to do? The answer came when I realized we were going to have to think outside the box a little. We didn't have a place for a work station in the middle of the kitchen, but we
did have a long stretch of wall on one side of the room.


If we relocated the little breakfast table that was there, we could easily fit a nice long "island". I could imagine a pot rack above it, with open shelves on the wall for storing plates and cups and such.


With that idea in mind, I began designing an island, but was also keeping my eye out for a cabinet or other piece of furniture that I could cover with butcher block and convert to an island. Then I saw something here that solved the entire dilemma: a talented blogger that used a small dresser as an island (a "real" one!), decorated so cute, and with a small cutting board on top. I had thought to use a dresser for a buffet, but not as an island! This was perfect! SO, to make this already long story shorter, I found the right dresser on Craigslist~ a unique vintage piece with loads of character!


Height was a concern~ unless it was near counter height, it wouldn't be as comfortable to use. My husband saved the day by suggesting elevating the dresser with furniture feet, and made me a very happy woman by doing this for me! I chose bun feet, because it fit the style of the piece the best.


Off to IKEA I went~ my sister was kind enough to make the trek with me. In fact, she drove! I chose a 1-1/2 inch solid oak slab of butcher block, along with some stain and oil to treat it with.


I didn't end up needing the stain, however. It was already as dark as I wanted, so I simply oiled the wood. David cut it to fit and screwed it on, and sanded the cut sides to match the others.


I was determined to make it look less like a dresser, and more like an island. Even if it couldn't be an island in the conventional sense, it was the only island I was going to have, and I wanted it to look the part. So out came the bead board, which I added to both sides. I used trim on the top, back and bottoms of the sides to give it a more finished look. Using vinyl spackeling helped to fill all holes and gaps in the woodwork.


(before)


I was negligent and forgot to take a picture before we added the bun feet and butcher block. So you'll just have to imagine what it looked like without those! ;) BUT here is a picture of it after just putting on both the feet and butcher block:


(before)

I took off the old handles and knobs, and used wood putty to fill in ALL the holes where they had been. I drilled new holes for my new handles, glass ones to match the glass knobs on our kitchen cabinets. Changing the places for knobs and handles was a new thing for me, and considering I was doing it at one in the morning, I'm just thankful I was successful! :)


Out came the primer and the paint. I tried three different colors before choosing the creamy white on the walls above the bead board, which is a brighter shade of white. I wanted a little contrast since it would be pushed up right against the wall.


I am happy to have this extra space, although I think I will need to trim down my decorations on it a little so I have room to bake! ;)


Do you think I put enough pictures on this post?


We are linking this to the following parties:
{blog party buttons located on sidebar}


Just a Girl
My Romantic Home
Perfectly Imperfect
Under the Table and Dreaming
I Heart Nap Time
Coastal Charm
Between Naps On The Porch
Domestically Speaking
The Shabby Chic Cottage

Shabby Nest
Tatertots & Jello
Funky Junky Interiors


Thank you so much for coming by! I hope you all have a wonderful weekend!


Blessings,


Jenni
{Giveaway} @ Turley Times

In honor of her birthday Hannah is having a fun giveaway!  This giveaway includes: one super cute purse filled with this and that, books and three amazing bars of soap!  I can tell these soaps are amazing and smell out of this world just by looking at them.

So.....be sure to stop by Turley Times and enter to win!

belle
simply . living . life

{Giveaway} @ The Merry Heart

Just a sweet tweet to announce that Sharon, at the "The Merry Heart," is hosting a giveaway sponsored by CSN Stores.  Whoever wins will receive a $60 gift certificate!  Be sure to fly away to her blog and enter!

belle
simply . living . life

Tuesday, August 3, 2010

Simple Apron

I decided on Sunday to sew a simple apron.  How difficult could it be?  Though I had no pattern I did have a apron on hand which was the style I wanted to re-create.  
So I pinned my sample apron to this adorable paisley material, that my sister  had given me, and cut it into the desired size.  I then sewed the edges about 1/2 inch under.
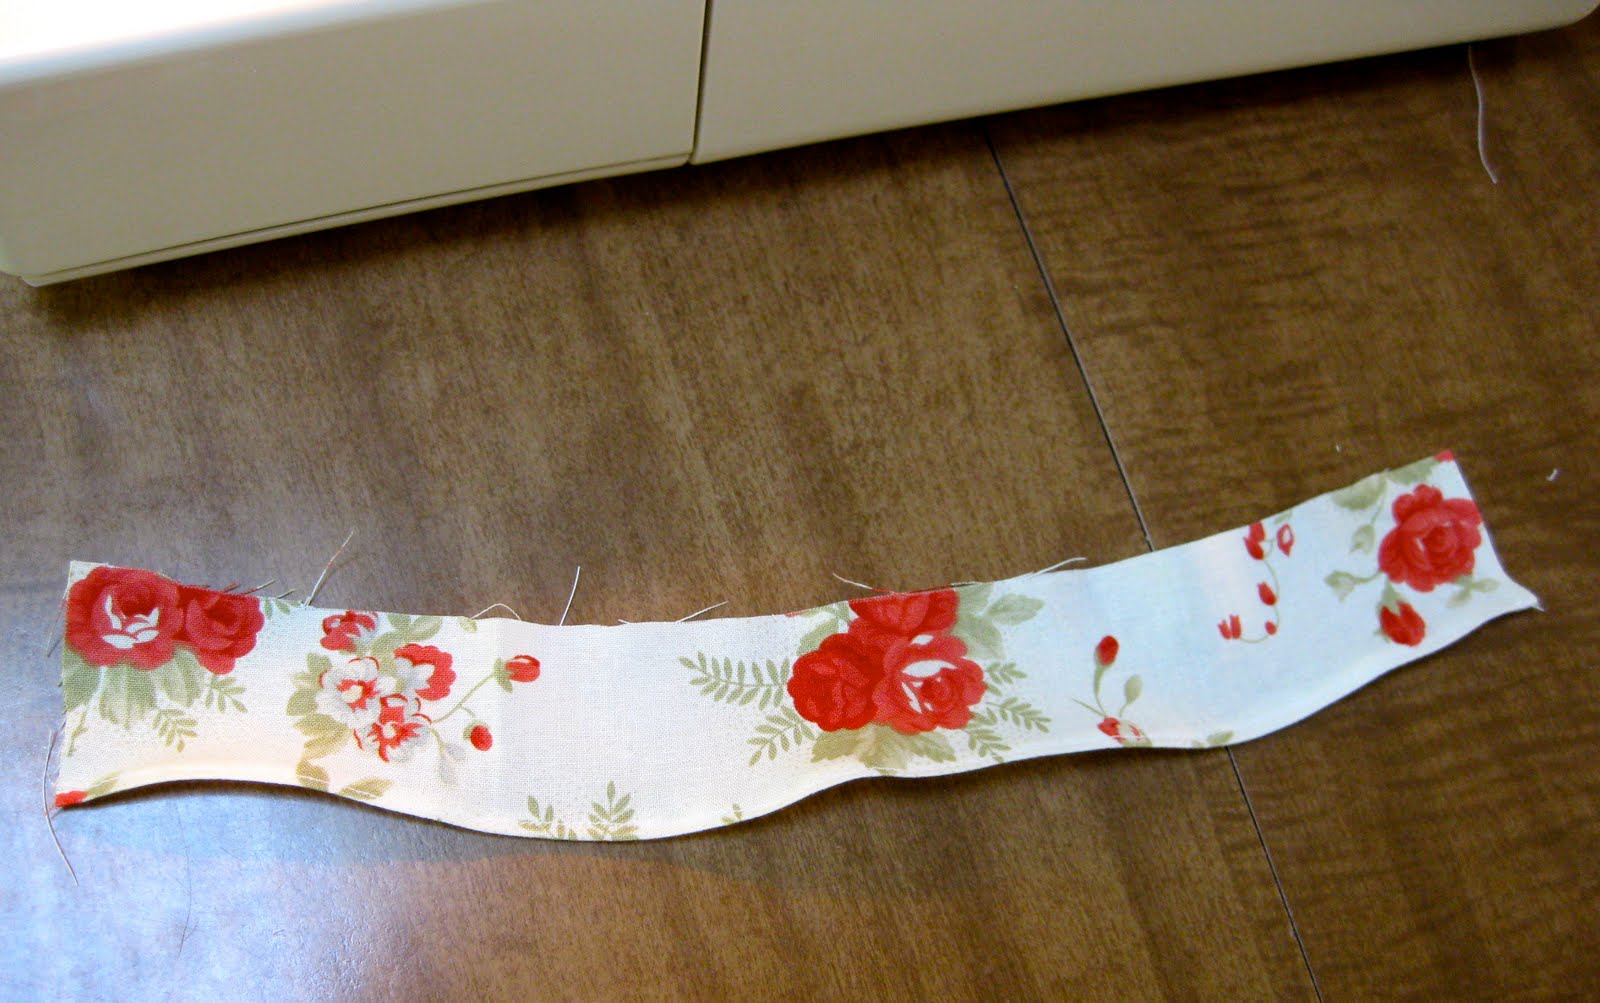
To add a little more flair I decided to use a different material that was given to me, also by Jenni, to create the edging and neckline for the apron.  I cut a two-inch width alongside the fabric two times.  I sewed the two pieces together at the width and then lengthwise.  I then attached a diaper pin to one side of the material and pulled it under and through until the fabric was no longer inside out.
I then sewed the neckline and edging on.
I cut a small piece of fabric to add to the neckline of the apron.
Ces't fini!
Sewed and ready to wear...
...love the fabric...
...love the colors...
...and for my first attempt at sewing an apron, I think it turned out fairly well.
Voila!

belle
 simply . living . life

Monday, August 2, 2010

Menu Of The Week

If you've read my other blog you know I am a big fan of planning meals ahead of time. Not only does meal planning save time, it's a money saver! This week I added a new meal to the list, because variety is the spice of life! Last night we enjoyed Turkey Burgers for dinner. It was the healthier option to hamburgers and tasty! Instead of ordinary, enriched white hamburger buns, we opted for whole wheat. To spice things up a bit, I added roasted red bell peppers to the assortment of condiments--oh so good!

Sunday
Turkey Burgers, Baked Beans and Chips

Monday
Chicken & Steak Fajitas and Fruit Salad

Tuesday
Teriyaki Chicken, Rice, Gyzoa with Side Salad

Wednesday
Cobb Salad, Homemade Minestrone Soup with Bread

Thursday
Sausage & Hotdogs, Potato Salad and Veggie Tray

Friday
Tacos {a family favorite}

Saturday
BBQ Hamburgers and Chips

Since we're talking about food, this is a great time to announce that beginning Saturday, Sparrow and I will begin hosting, Plan Ahead Saturday. Plan Ahead Saturday is a place where you can show and tell one of your favorite meals, salads, desserts or side dishes that's on your menu for the coming week. Its also a place where you can be inspired to make a new dish! Say goodbye to those dreadful moments contemplating what to make for dinner minutes before it needs to be on the table. I know I've been there, done that! Instead, join in on the fun and plan ahead!

Party button coming soon!
Until then have a frugalicious week!

belle
simply . living . life